If you live in a climate where the temperature drops below freezing in the winter, this complete guide is for you. Weather you own a UTV sprayer, 3-point hitch sprayer, ATV sprayer or pickup truck sprayer you must prepare it for the winter. Winterizing your sprayer ensures it is ready to go as soon as spring arrives. To make sure you minimize any busted parts or damage to your pump in spring, I have completed a guide you can easily follow. This guide will explain what tools you need and a step by step guide on how to winterize your sprayer.
Video: Watch the Sprayer Winterizing Process
To make this guide easy to follow, here is a video explaining the entire process. In this video you will see how to complete each step. This demonstration is using a 60 gallon Field Boss™ UTV sprayer and a 12' steel boom attachment. The entire process took about 5 minutes.
Tools You Need to Winterize Your Sprayer
Knowing what tools to have before you begin winterizing your herbicide sprayer will help you complete this process quicker.
- PPE - When cleaning sprayers or equipment that contain herbicide or other chemical, its important you wear the same required personal protective equipment as when you are spraying.
- A Bucket - You will use this to empty the liquid into when you are draining your tank. If you do not have a bucket, winterize your sprayer on a field where the chemical used won't damage anything.
- Compressed Air - This will be needed to blow out your hose lines.
- Anti-freeze Liquid - You will need anti-freeze to replace any water in your plumbing lines, tank or pump. You can purchase this from a hardware store like Lowes® or Home Depot®.
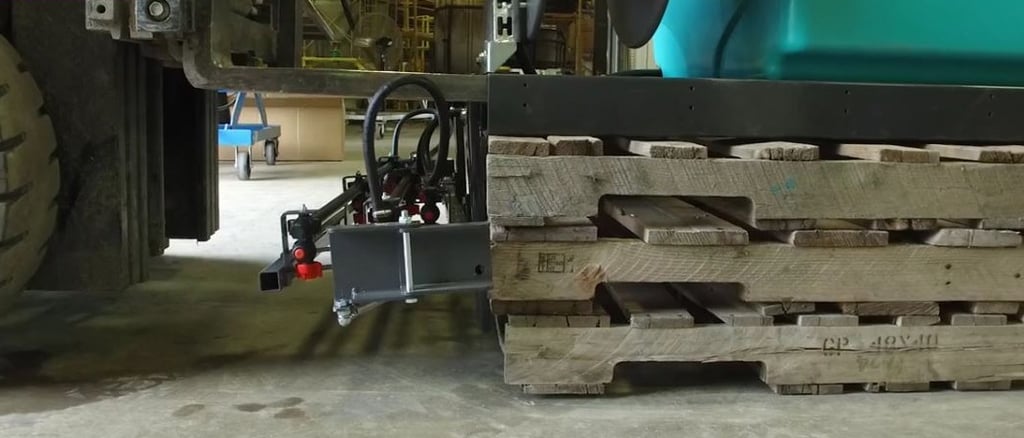
- A Few Pallets - This is a must if you have any boom attachments that attach lower than the base of the sprayer.
Hand-picked content for you: 7 Top Reasons Why You Should Always Winterize Your Sprayer
The Complete Guide: Winterizing Your Sprayer
Although there are many ways to winterize your sprayer, this is the easiest way. This guide cuts out anything that is not important.
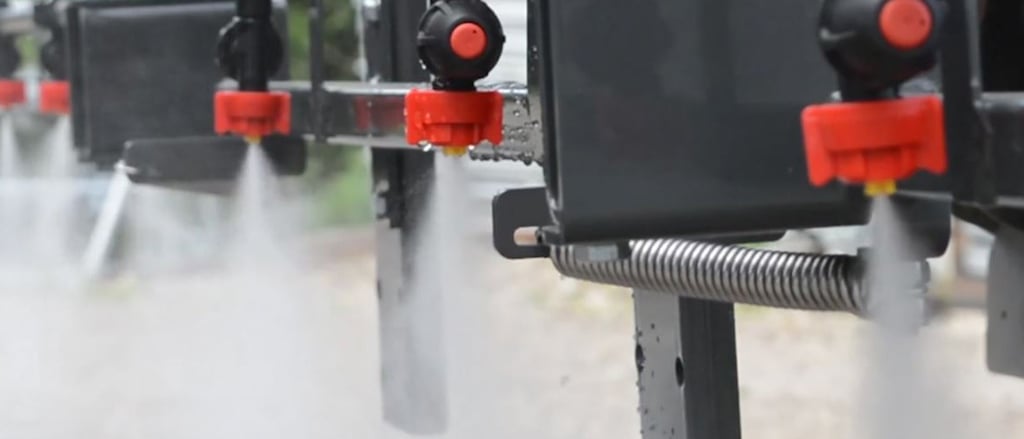
- Drain Your Tank - Fill your tank with clean water, start your pump and open all your spray ends. If you have a spray gun or boom, make sure you spray until clean water is coming through. Do this outside on a field or somewhere where the chemical won't affect anything.
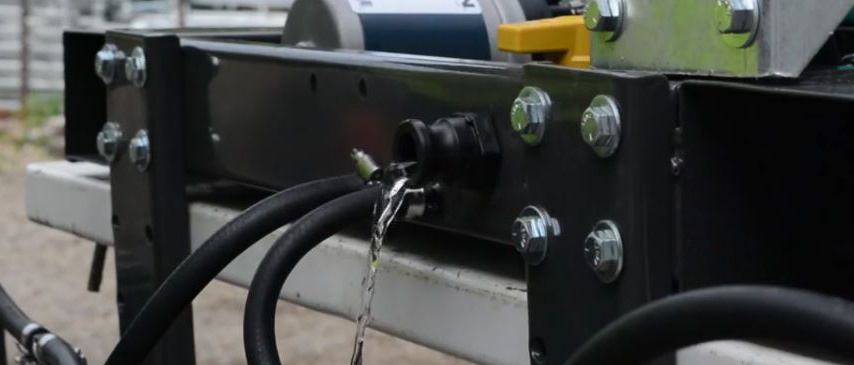
- Blow out the Plumbing Lines - Using compressed air, blow out the hose lines to remove all water from the system.
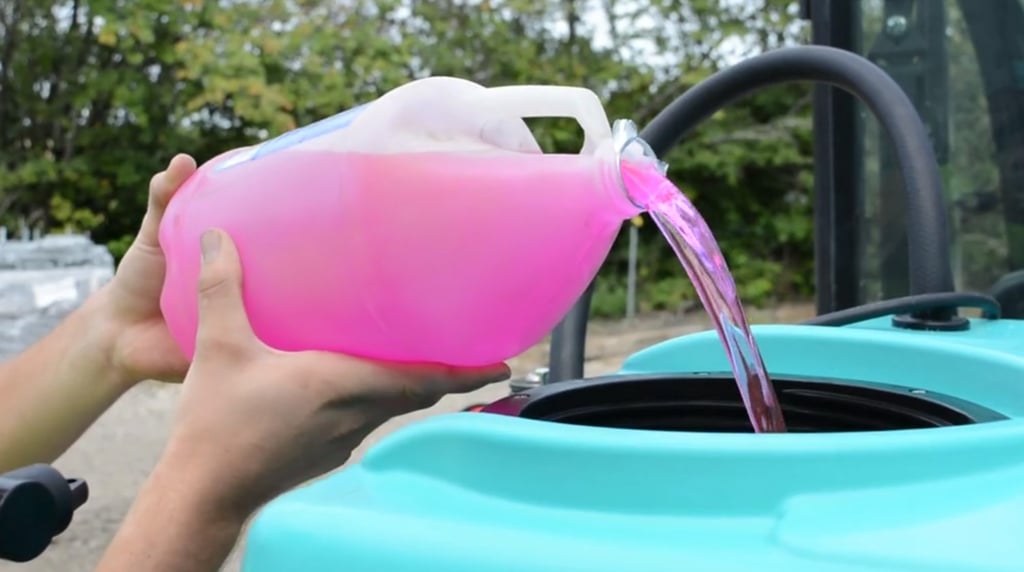
- Flush with Anti-freeze - Pour a small amount of anti-freeze into the tank and run the pump until the colored liquid starts coming through the spray ends. A small amount of anti-freeze liquid left in the bottom of the pump or hose lines will be totally fine. The key is to get the bulk of it flushed out. Also, ensure you store your sprayer with no pressure build up in your plumbing lines.

- Store Your Sprayer - Turn off your sprayer ends so the remaining anti-freeze does not leak out. Your sprayer is now ready to store. If you have a boom attachment that hangs lower than the sprayer, I would suggest you sit the sprayer on a few pallets.


I trust this guide will help you complete this process quickly with minimal equipment. Winterizing your sprayer is a simple task that must be completed before every winter. When you pull your sprayer out in spring it will be ready to go. If you have any questions regarding this process or have any extra ideas, we would love to hear. Comment below.