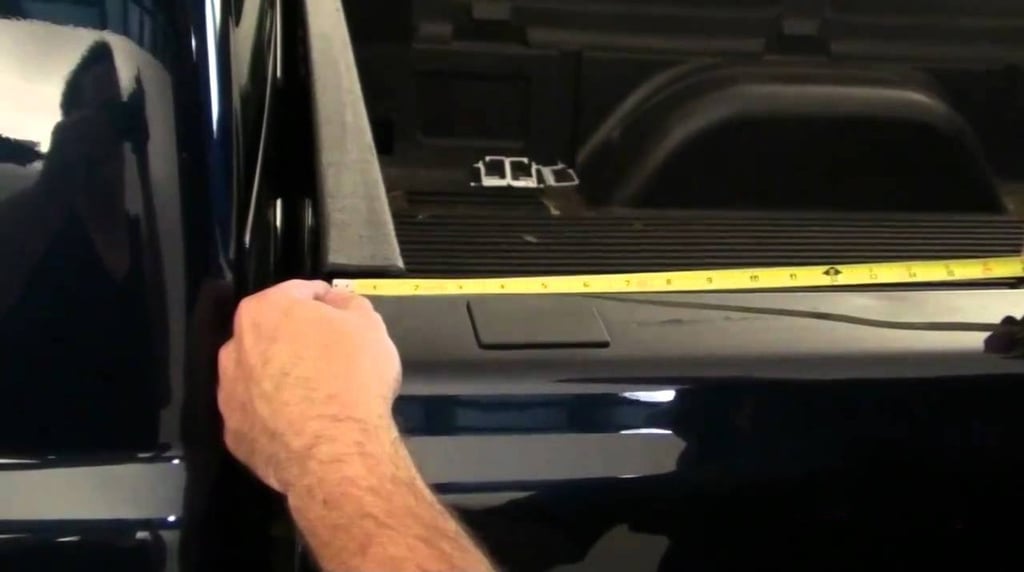
Properly installing your diesel transfer tank in your pickup truck bed is easy when you have the right tools. In this DIY guide, you will learn tips and tricks to help you get this task done as quick and safe as possible. Before you begin this task, you must decide whether you want your transfer tank to be a permanent fixture on your pickup or just temporary. These instructions will also help you with this decision.
There are two types of installation procedures you can follow. The first one is if you want to secure your diesel tank permanently. This will take longer. The second way you can install your diesel tank in your truck bed is temporarily. This is a lot quicker and probably the most popular choice.
Permanent Installation: 1 Hour
If you want your truck diesel transfer tank to be on your pickup bed permanently, follow this simple step by step guide. This installation process will take about one hour.
Tools you will need:
- Tape measure
- Marking pen
- Drill
- Drill bits
- Bolts & Washers
The step by step DIY guide:
This installation process involves securing the tank by using the molded-in inserts on the bottom of the tank.
- Measure the insert footprint - This initial step will give you an accurate measurement of how much space the tank will need on your pickup truck bed. Measure between each insert and mark the measurements on a piece of paper.
Pro tip: Create your own footprint template. Tip your diesel transfer tank on its side, get a piece of cardboard and punch holes through it where the inserts are. You can then use this to mark the holes on your truck bed.
- Decide where it fits best - Using your measurements or your homemade template, decide where the tank will fit best on your pickup.
Pro tip #1: Have your lid facing the side of your pickup truck. This will make the pump and gun easy to access from the ground.
Pro tip #2: Make sure the lid is on the same side of the pickups battery. This will allow the battery cables to reach the battery.
- Mark the footprint - When you have decided the ideal placement of the tank, mark the holes on your pickup bed with a marker.
Pro tip: Before you mark the holes, make sure you check under the pickup to see what you will be drilling through. If you are just securing the tank through the bed, make sure you use large washers so the bolds will not rip out.
- Drill Holes - Drill your holes through your bed. Take it slowly to avoid any unneeded chipping.
- Insert bolts - Put washers on your bolts and insert them through the bottom of your truck bed into your diesel transfer tank inserts.
Temporarily Installation: 3 Minutes
If you don't think you will be using your transfer tank much, this securing process is a solid choice. This installation process will take about 3 minutes.
Tools you will need:
- Ratchet strap set
The step by step DIY guide:
- Decide where it fits best - Lift the diesel tank onto your pickup and slide it around until you are comfortable with its location.
Pro tip #1: These pickup diesel tanks will work best if the lid is facing the side of the pickup. It will be easier to access from the ground and you can properly use the built-in tie down grooves on the tank. This is a lot safer option.
Pro tip #2: Make sure the lid is on the same side of the pickups battery. This will allow the battery cables to reach the battery.
- Install & tighten straps - Use your ratchet straps to tie the transfer tank using secure tie down points on your truck.
I hope these diesel tank installation guides will help you decide whether you want it on your truck permanently or temporarily. Either way, the procedure is pretty simple. We are in the process of shooting a video for these installation methods and will upload it to this article as soon as it is complete. If you have any questions, comment below.

