When you change spraying chemicals, it is extremely important you thoroughly clean your tank. This simple process can eliminate damage being done to crops or grass by preventing small amounts of the wrong chemical being sprayed. If you have the right cleaning fluid and tools, this process is simple. In this article, I have included a list of the best chemicals to use for cleaning and a 7-step method that you can follow.
Why You Should Keep Your Sprayer Tank Clean
Keeping your sprayer tank clean will avoid the wrong chemical being sprayed on your crops and grass. When spraying different weeds, different chemicals are required. Cleaning your sprayer will also help prevent drying and hardening of product residues.
"Cleaning will reduce the risk of corrosion and damage to your UTV sprayer or 3-point sprayer."
Popular Tank Cleaning Agents Used:
To quickly learn what cleaning agent you should use for your chemical, I would suggest you read this brief research project conducted by the University of Delaware. The article is called, "Sprayer clean-out guidelines: Reducing crop injury due to herbicide contamination".
- Commercial tank cleaners: This type of cleaner is recommended on many product labels. It will help remove water and oil soluble herbicides.
- Household ammonia: This solution is a common cleaning agent. It is an effective agent for penetrating and loosening deposits and residues in your spraying system. Although ammonia does not decompose herbicides, it increases the solubility of some herbicides by raising the pH.
- Kerosene or fuel oil: This should be used to remove oil based herbicide formulations such as 2,4-D esters. Following the oil rinse, the system should be cleaned with detergent or ammonia.
- Chlorine bleach: This cleaning solution will decompose residues of most sulfonylurea and other herbicides into inactive compounds. However, some tank-mix partners may inhibit the decomposition. Please read the warning below!
CAUTION: Never mix chlorine bleach and ammonia, or chlorine bleach with fertilizers containing ammonia, as it will produce a dangerous chlorine gas. The gas will irritate eyes, nose, throat and lungs.
Cleaning the Tank on Your Sprayer in 7 Simple Steps:
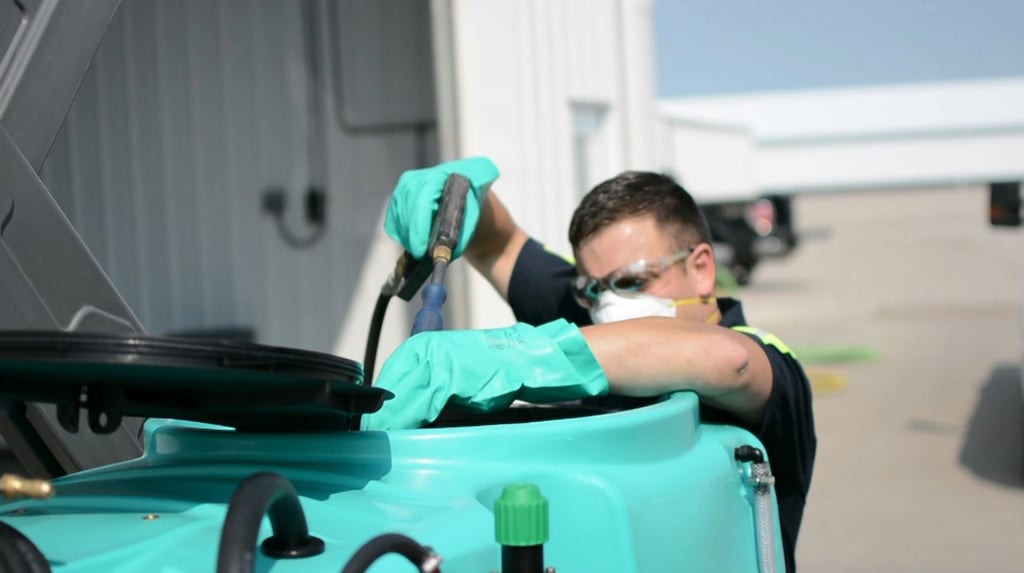
As mentioned above, thoroughly cleaning out your sprayer with the right chemical will eliminate damage to your crops or grass. Here is a 7-step process that is easy to follow and very simple to complete.
Before you start: When flushing your sprayer, pay attention to where the chemical will run. We recommend you clean in an area that will not contaminate water supplies, streams or crops.
- Drain the tank and rinse - After thoroughly draining the tank, rinse the inside by spraying clean water with a pressure washer or general garden hose with a nozzle. You can then fill the tank up with water and rinse it through the spray boom for about five minutes.
Pro tip: If you are using the same product mixture the next day, flushing the sprayer with just water will be enough.
- Fill the sprayer tank - It's now time to shut the pump off and fill the tank with clean water.
- Add cleaning solution and mix - If you are swapping spray chemicals, this step is important. Add the right amount of recommended cleaning solution to your tank of water. If you have an agitator inside your sprayer, operate it for 5 - 10 minutes to mix the cleaning solution with your water.
Pro tip #1: Your herbicide label should tell you what cleaning agent is recommended and the best way to use it. If it does not recommend anything, comment below and we will help.
Pro tip #2: If your sprayer system does not have an agitator, mix the solution with a clean stick or tool.
- Leave sprayer for 8 hours - With the water and cleaning solution left in the sprayer tank, let it sit for about eight hours. This will allow the solution to remove any herbicide from the residues inside the tank.
- Clean nozzles, screens, and filters - Once the solution is flushed through, it's now time to rinse all your nozzles, screens and filters.
Pro tip: To clean your nozzles, screens, and strainers, put them in a bucket of cleaning agent and water.
- Flush solution through - Turn your pump on and spray the cleaning solution through your boom and hand wand.
- Rinse entire system - When you have put all nozzles, etc. back into place, give the entire system a complete rise to ensure all cleaning solution is flushed through.
Quick Video: Tractor Maintenance 101
I trust this guide will help keep your sprayer in top shape and will eliminate the wrong chemical being sprayed. One of the most important things to consider in this entire process is what type of cleaning agent to use. Please read the label on your spraying chemical bottle. If it does not recommend anything, comment below and we will help. If you have any tips that you have learned when cleaning the tank on your sprayer, I would be glad to hear them.