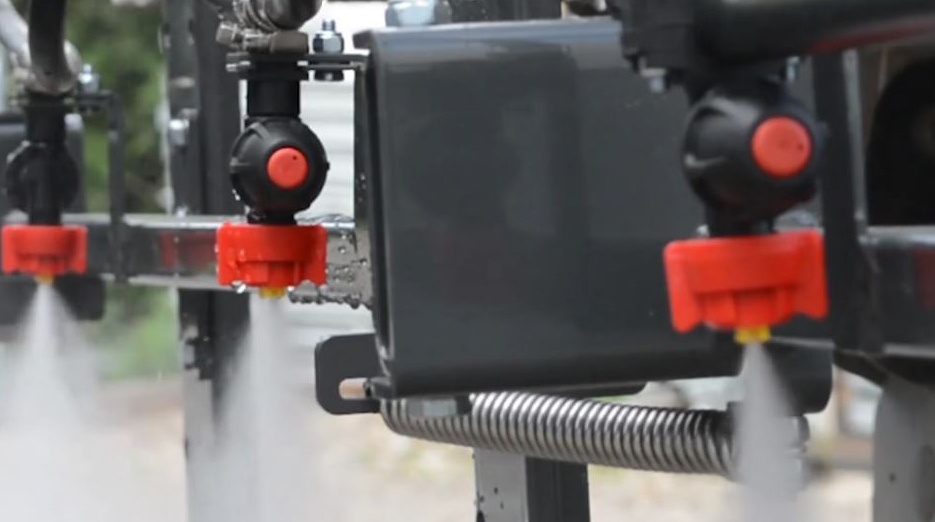
During the rush of a busy spring, we know that equipment downtime is not an option. Getting your sprayer ready properly for early spring spraying will eliminate any unneeded breakdowns. These important tips will help you quickly test your sprayer to see if it's ready to use after winter storage. From a visual inspection right through to testing the unit itself, you will learn how to get your sprayer ready for spring.
Tools You Will Need
- Cloth and bucket - This will be used to wipe out your spray tank.
- Vacuum cleaner - You will need this to thoroughly remove any dust or particles in your tank.
- Clean water source - This is a must to wash out anti-freeze and particles that have collected over winter.
Getting Your Sprayer Ready for Spring: 6 Step Process
- Visual Inspection - Before you begin to test anything, a visual inspection will help you find any loose bolts, worn parts or cracks. It's important you fix these first. If you have a sprayer on wheels, you should also check the tire pressure.
- Clean the tank - Wipe out your tank before you fill it up with water to prevent any dust, bugs or other particles to flush through your pump and nozzles.
Pro tip: A vacuum cleaner is ideal for thoroughly cleaning your tank. A long vacuum pipe will be needed to reach corners of larger tanks.
- Check Engine & Pump - If you have a gas powered pump, check the oil level to make sure it is ok to run. It is also important you flush out any anti-freeze liquid before you test your nozzles.
- Clean Nozzles - Fill your tank up with clean water to check the flow rates of your spray nozzles. Some popular spray nozzle companies like Tee-jet® recommend you change each nozzle before you start spraying every season.
Pro tip: Replace any spray nozzles that are spraying more than 10 percent of the original output.
- Run water through sprayer - It's now time to fill your tank back up with water and run liquid through the entire system to check for any leaks.
- Test your sprayer - Once you have checked for any leaks or damaged parts, its time to do a quick test run on the field. It's ok to just use clean water for this.
Once you have completed this simple setup process, It's time to calibrate your sprayer to figure out your ideal application rates. If you need any help choosing the right nozzles for your spraying application, I found 3 sources you can use for this process. You can quickly learn how to select the correct nozzles by clicking below.


