
In this post, I will walk you through the steps of setting up your in-cab solenoid controls. With the help of this video, you will be out in the field spraying in no time! For the purposes of this video, we will be using an Enduraplas Field Boss® 365 sprayer. If you are not using a Field Boss® sprayer, steps 3-5 may be irrelevant.
You Will Need:
- Side Cutters
- Crimping Tool
- Crescent Wrench
- Nut Driver
- 9/16" Wrench
- 9/16" Socket Wrench
- Socket Extension
- Two 7/16" Wrenches
- Hose Cutters
- Pliers
- Teflon Tape
- Blow Torch
- Thread Sealant
1. Mount the Bracket
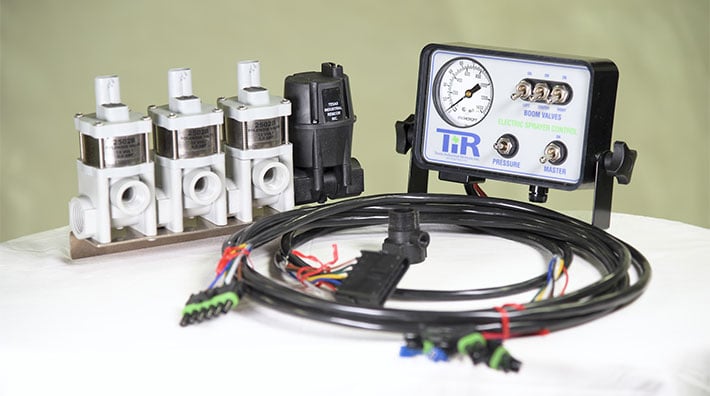
Before you start, unpack the components of the solenoid kit. Start by removing the spray wand clips off the sprayers tank.

For this setup, we will be using a custom bracket that does not come standard with the solenoid kit. We’re going to remove the standard bracket from the valve bank. Then mount the wand clips to the new bracket and mount it to the inserts on the tank. Once the new bracket is secured, mount the valve bank to the new bracket.
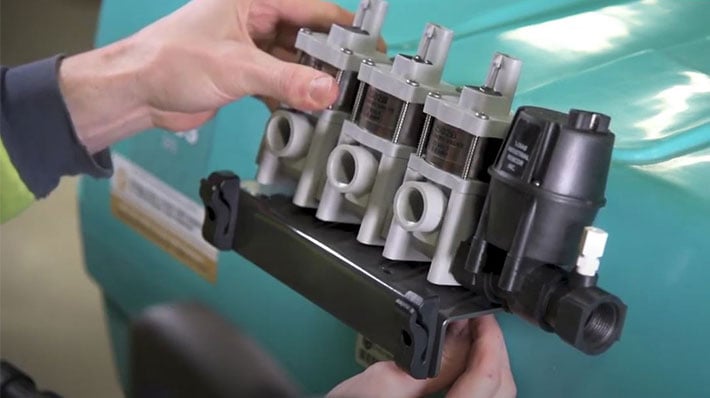
2. Install Valve Barbs
Using Teflon tape and thread sealant, secure the 3 valve barbs, the intake elbow, and the return elbow to the valve bank. Note: These fittings do not come with the solenoid kit, so you will need to purchase your own.
3. Remove the Field Boss™ Swing-Arm
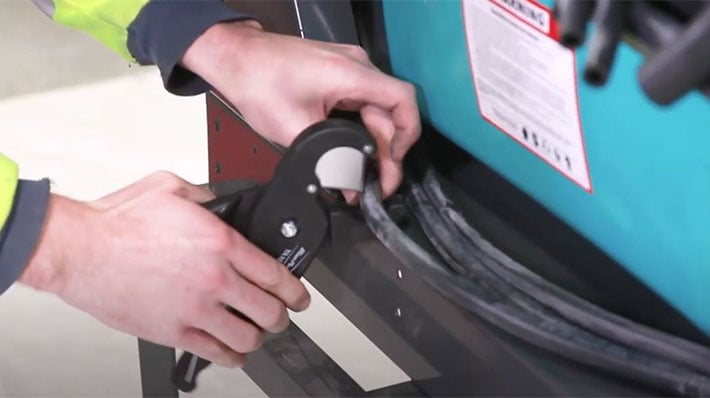
You will need to remove the Field Boss™ Swing-Arm. Start by undoing the hose clamps at the control valve and cutting the hose. Make sure to keep the hose clamps; you will need them again. Remove the return hose from the control arm.
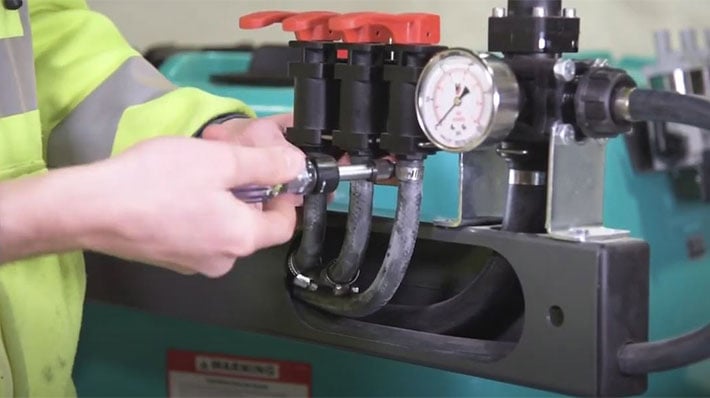
4. Cut The Supply Hoses
Cut the main 3 supply hoses out the other side of the control arm leaving enough length remaining to re-use that end of the hose.
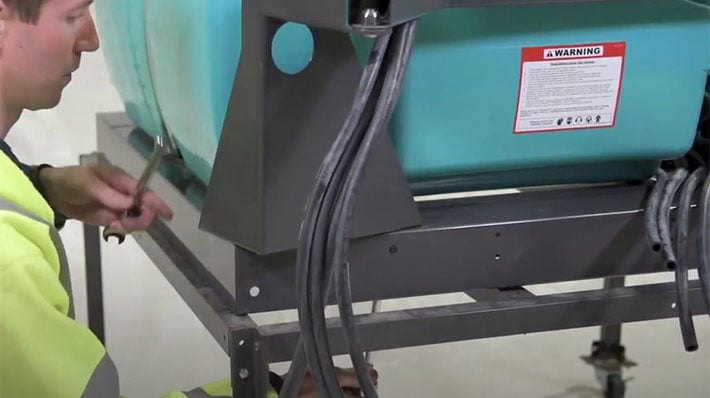
5. Unscrew the Swing-Arm
Unscrew the control arm from underneath the frame and remove it completely. It will no longer be needed.
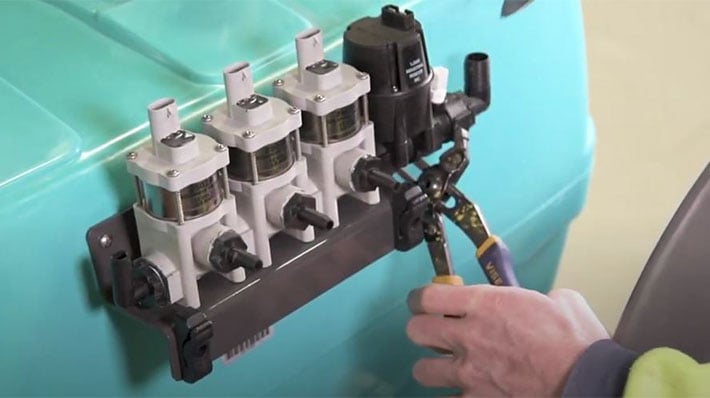
6. Fit The Hoses to The New Valve Bank
Connect the supply hoses to the new valve bank. Be sure to connect the right, left, and center boom hose sections to the correct valves so your controls are accurate. Trim each hose to the right length, slip the hose clamp on and secure it to the valve. Conduct the same procedure with the return hose, cutting it to length and securing it to the return valve.

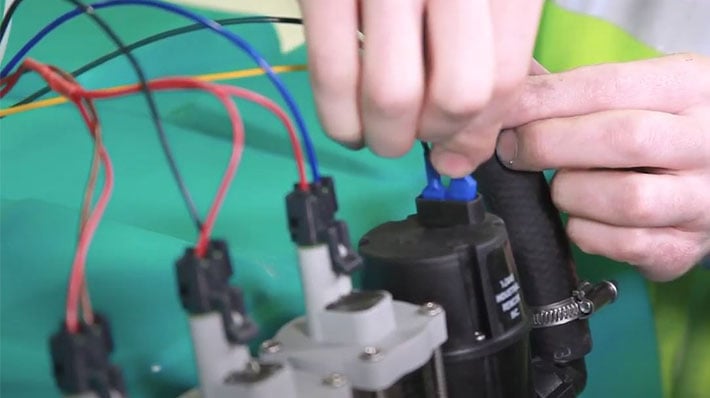
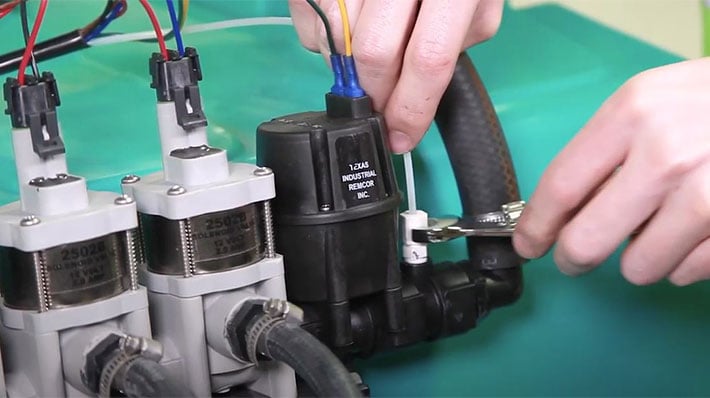
7. Attach The Valve Harness
Now we’ll hook up the in-cab controls to the valve bank. Start by connecting the 3 valve harnesses to the valve bank [Blue = left section, Brown = center section, Black = right section]. Connect the two spade connectors to the butterfly valve.
8. Connect The Pressure Cable
Connect the pressure cable and tighten it with a wrench. Connect the wire harness to the controller. Then connect the other end of the pressure cable to the controller and tighten it with a wrench until it is secure.
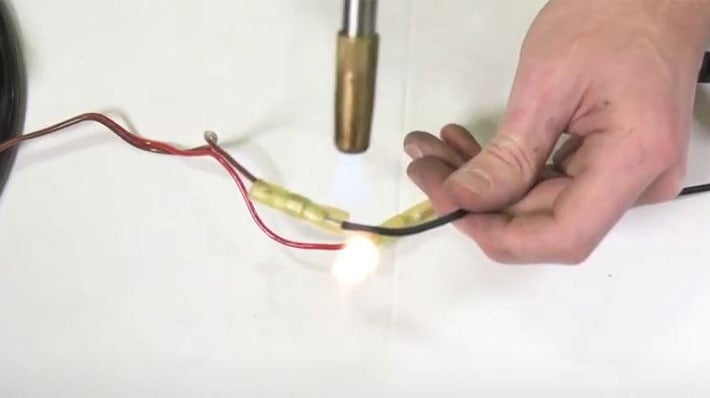
9. Connect The Power Wires
Lastly, connect the power wires to a set of alligator clips. You will need to purchase your own as the kit does not come with them. Using heat shrink butt splices and a blow torch, secure the alligator clips to the power cables.
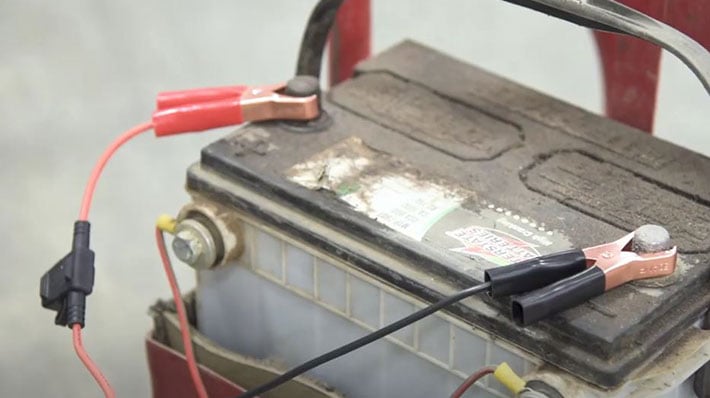
10. Connect to your Battery
Once they are secure, then connect the alligator clips to the battery on your vehicle. Finally, run the in-cab controls up and into the cab. Your in-cab solenoid controls should now be setup and ready to use.
I hope this post has helped you set up your electric solenoid kit for your UTV sprayer. If you are interested in purchasing a UTV sprayer with a pre-installed solenoid kit, you can check them out here. If you have any other questions that I did not cover in this article, you can comment below.


