We all know that keeping your sprayer in great condition will reduce break downs during spraying season. Making sure your oil is clean is part of that. Here are a few simple steps to properly change/replace the engine oil on your sprayer as quick as possible.
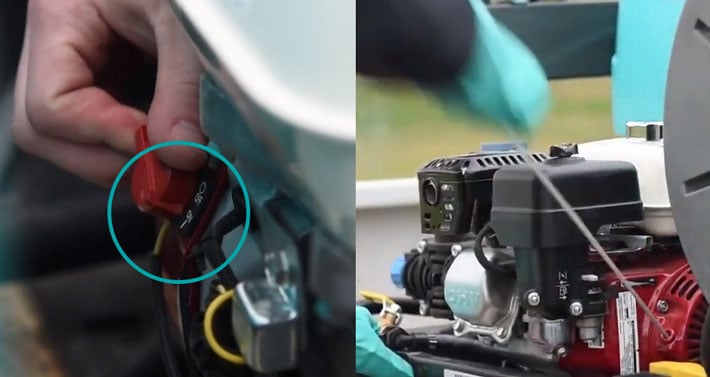
Step 1: Start the engine and let it warm up the engine until oil is warm.
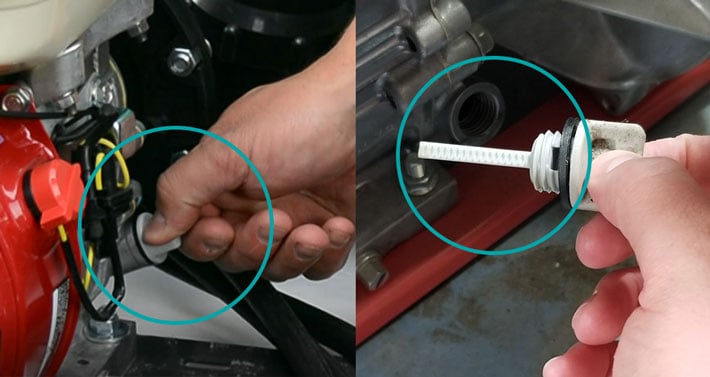
Step 2: Once the oil is warmed up, turn the engine off and remove the oil filler cap to let air in while the oil is draining.

Step 3: Remove the drain plug and let the oil drain completely.
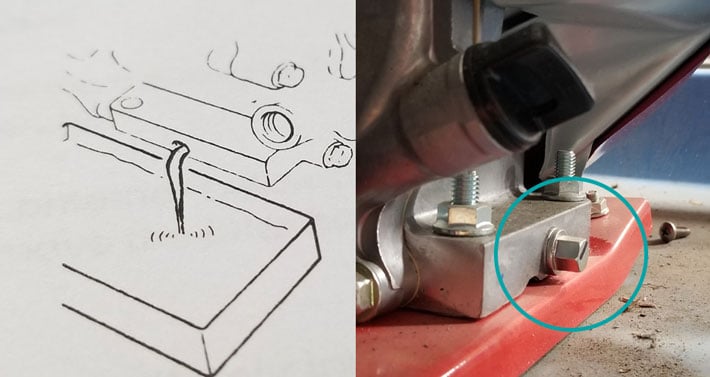
Step 4: Tighten drain plug and add the correct type and amount of oil based of manufacturer’s recommendations.

Step 5: Replace the dip stick, then remove it again and check that the oil is at the correct level.
Step 6: After replacing the dip stick you’re ready to start spraying again.
I hope this simple step-by-step guide has been beneficial to you. We would love to hear your thoughts. Feel free to comment below, and if you have any other questions that you would like answered, we would be happy to help.