Keeping your sprayer in good condition will help you lengthen the life of the sprayer. Everyone knows that when you look after something, it lasts longer. Sprayer maintenance can seem a huge task if you don't have the right tools. In this article, you will basically go through a quick sprayer maintenance course. This guide teaches you best practices for maintaining your sprayer before and after use. You will also learn the importance of monthly checkups.
Sprayer Maintenance 101: Before Initial Use
When you first use your sprayer, it's important to conduct a quick visual inspection to check for any obvious cracks or damages.
Visual inspection:
- Check hoses - The main place to check is the hose connections and fittings. You can do this by closely inspecting for any rare cuts or slits that occurred in shipping or unloading.
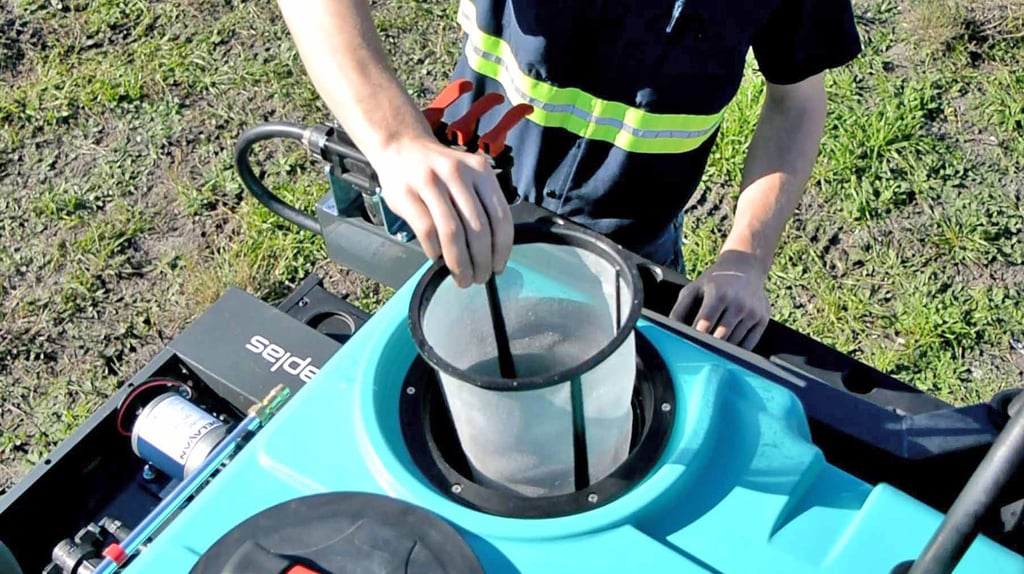
- Check filters - Unscrew all filters to clean out any particles or dust that may have built up over time.
- Check inside the tank - Remove the tank lid and have a look inside for any dust, packages or even insects that may have got inside.
Gas engine inspection:
- Oil level - If your pump is driven by a gas engine, like any other motor, you must check the oil level before you run it for the first time. You will learn how to quickly check the oil level on Honda® GX120, GX160, GX200 engines by clicking here. If you have another brand on engine, refer to the manufacturers owner's manual.
Pro tip: After you have completed your visual inspection, we suggest you put some clean water in your sprayer and test it. As you are running water through for the first time, check for leaks. 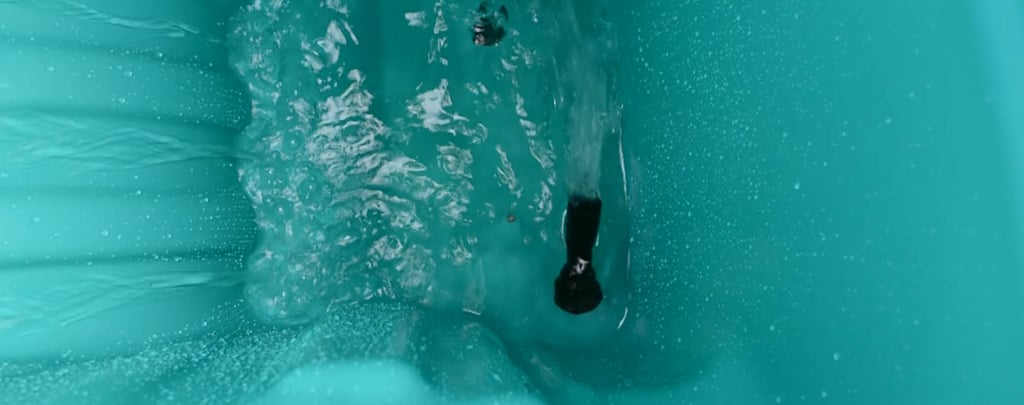
Sprayer Maintenance 101: Daily Before & After Use
Before and after you use your sprayer each day, there are a few things to check to reduce any unexpected breakdown. It is also good to keep your tank and plumbing lines cleaned out to avoid mixing chemical.
Before you use the sprayer - Visual inspection:
- Check hoses & fittings - Its important you take a quick look at your hoses to make sure there are no leaks. Sometimes fittings can come loose because of the vibration when you are spraying.
- Check filters - After you spray for a day, it's wise to clean out any filters to ensure they don't get clogged up.
After you use the sprayer - Cleaning:
- Clean the inside of the tank - After you empty your sprayer, fill it back up with clean water to clean the chemical out of your tank.
- Flush out pump, hoses and nozzles - Using the clean water, flush the old chemical through your pump and spray lines to avoid mixing chemicals when you spray next.
Pro tip: If you are using the same chemical the next day to spray, it is probably not necessary to clean your tank. However, some chemicals should not be stored outside for a certain period of time. Refer to the chemical jug for details.
Helpful content about this topic: How to properly clean the tank on your sprayer.
Sprayer Maintenance 101: Monthly
It is good to check your sprayer once a month to ensure there are no worn or broken parts. If you use your sprayer a lot, it may be a good idea to make this checkup weekly.
Check Filters:
After a month of spraying, you may have to change or thoroughly clean the filters on your sprayer. This can be done by removing them and spraying them with a pressure washer.
Nozzle testing:
Every month, its important you check any spray nozzles and replace them if they are not performing. On the nozzle manufacturer chart, you will find how many gallons should be spraying out of the nozzle in 1 minute at a certain pressure. This is the best way to check your nozzles.
Here is a 4-step process to test your nozzle performance:
- Locate your nozzle on the nozzle chart and choose a spraying pressure.
- Put a jug under the nozzle.
- Run clean water through the sprayer nozzle and into the jug for 1 minute.
- Compare the amount of water that is in the jug with the suggested amount on the nozzle manufacturer chart.
Pro tip: We recommend you replace any spray nozzles that are spraying more than 10 percent of the original output.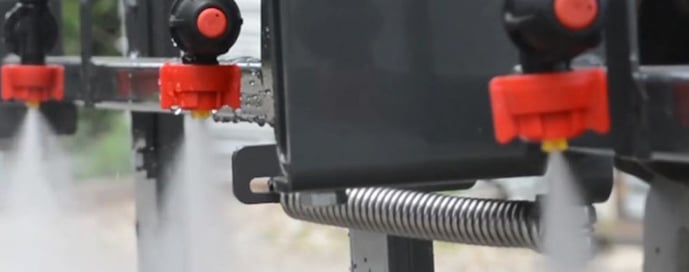
Sprayer Maintenance 101: Before Winter
Getting your sprayer ready for winter will eliminate damage when you use it the following spring. Making sure your sprayer is ready to go the next spraying season will save you a lot of time. Winterizing your sprayer can be completed in 4 simple steps.
Winterizing your sprayer:
- Drain your sprayer
- Blow out the plumbing lines
- Flush with anti-freeze
- Store your sprayer correctly
Helpful content about this topic: How to Winterize Your Sprayer in 4 Simple Steps 
Sprayer Maintenance 101: Before Spring
When you pull your sprayer out of the shed in spring, there are six essential steps to take before you start using it. Getting your sprayer ready for spring will reduce any unneeded breakdowns.
Getting your sprayer ready for spring:
- Visual inspection
- Clean the tank
- Check engine and pump
- Clean nozzles
- Run water through sprayer
- Test sprayer
Helpful content about this topic: Getting Your Sprayer Ready for Spring: 6 Essential Steps to Take 
Keeping your sprayer healthy ultimately means it will last longer. If you follow these simple sprayer maintenance steps, you should minimize breakdowns and broken parts when you are spraying. If you have any questions or any helpful suggestions to improve this article, go to the bottom of theis page and add a comment. We would love to hear what has worked for you.