While rock salt has been the standard for pre-treating and deicing roadways, many contractors are turning to liquid salt brine for its economic and time-saving benefits. However, making your own brine solution can be daunting when you don’t know where to start. Don't let the next storm get the upper hand. Here's everything you need to know about making salt brine.
Why You Must Pay Attention To Liquid Brine
Taking care of customers, avoiding litigation, and increasing profits are just some of the main day-to-day concerns for the average snowfighter. For many, rock salt has helped them achieve just that. However, due to rock salt's negative effects on the environment, the EPA will eventually be cracking down and start requiring a safer, more sustainable winter management anti-icer. Liquid salt is not only recommended by the EPA, but it is 4x more effective than rock salt. One truckload of liquid brine can cover more surface area than four truckloads of rock salt, saving you time, effort, and money.

Tools You Need to Make Liquid Brine
Making liquid salt brine requires five essential tools: rock salt (including additives), a water source, a mixing device, a storage solution, and the optimal salinity.
Rock Salt
The mineral form of sodium chloride (NaCl), rock salt, lowers the freezing point of water, making it more difficult for water to freeze and create dangerous driving conditions. However, it needs moisture to activate.
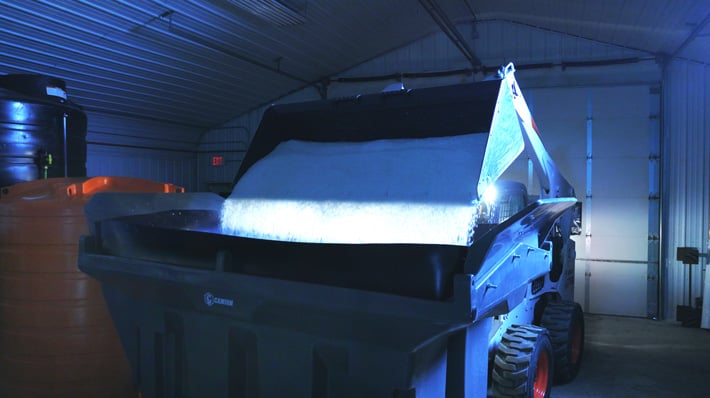
It is important that you have good-quality rock salt for brine making. Rock salt with a very fine gradation is the key to fast and efficient mixing. However, you must also consider the salt's purity and quality. It is crucial to find a rock salt that is as close to 100% pure as possible. If you make brine with 85% to 90% pure rock salt, you run the risk of clogging your brine maker, storage tank, or sprayer.
Using Additives
Brine additives enhance brine's melting power, longevity, and freezing temperatures. Chlorides like potassium, magnesium, and calcium can change how your brine solution performs. The time to add additives would be as your brine is being pumped into your truck. You would pump your truck from a storage tank. Some brinemakers have a truck-load system so that you can pump your brine additive through the brinemaker’s control panel.
Water Source
Liquid salt brine is water mixed with rock salt. To make brine, you need an ample water supply to convert the rock salt.
Mixing Device
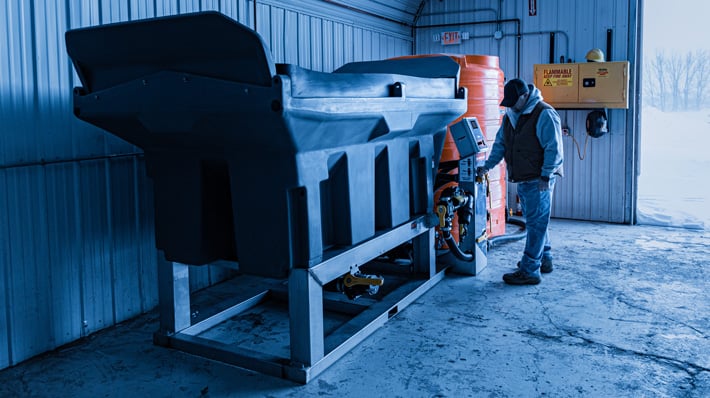
Using a brine maker is the best way to make liquid salt brine. A brine maker mixes rock salt and water at a molecular level, ensuring the perfect salinity for snow and ice control. It is almost impossible to get the same results using anything other than a brine maker simply because no other method can replicate the agitation method that a brine maker uses to make the perfect brine.
Storage Container
To ensure your liquid brine is safe and ready when you need it, you need a heavy-duty brine storage tank manufactured with corrosion-free material. Salt brine does not have a shelf life. If your brine is at the optimal salinity, it can be stored forever in a storage container without falling out of solution.
Optimal Salinity / Salinity Reader
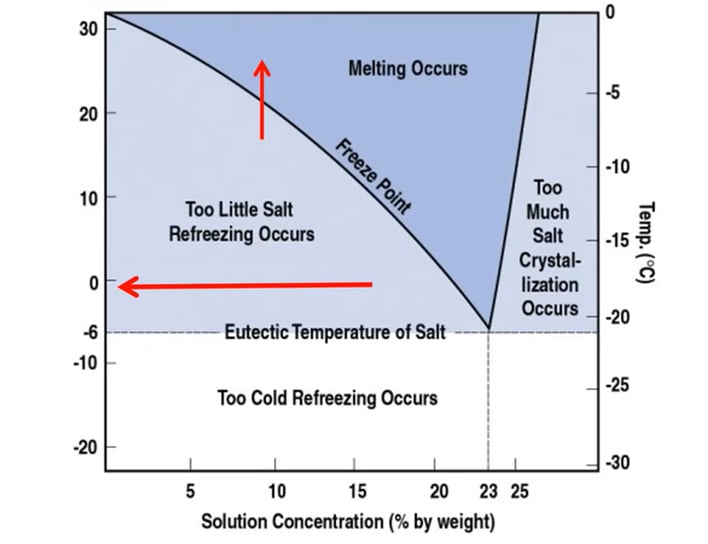
Liquid salt brine is at its most effective when at 23.3% salinity. The “secret recipe” brine solution is 23.3% rock salt and 76.7% water. Put plainly, about 2 lbs of rock salt per gallon of water. You can test your brine’s salinity with a salinity reader. However, it is best when your salinity reader is built into your brine maker. A built-in salinity reader ensures you get the most accurate reading possible from the source.
At 23.3% salinity, you can guarantee your brine will melt snow and ice, even in temperatures down to -6°F. More importantly, water will only hold 23.3% of salt. After that percentage, your brine will fall out of solution and either settle in your water tank or freeze on the road, having the adverse effect of its intended use.
4 Simple Steps to Making a Batch of Liquid Brine
- Add water to your brine maker.
- Add rock salt to the water. (About 2 lbs of salt per gallon of water)
- Combine the salt and water mixture till your batch reaches 23.3% salinity.
- Pump the batch of brine into your corrosion-free storage container or sprayer. If you plan on using additives in your brine solution, now would be the time to add them.
- Repeat the process for the next batch using the same measurements as the previous batch.
Anti-icing with liquid brine is the most environmentally safe and cost-effective practice in winter maintenance. It requires about 1/4th of the material and 1/10th of the overall cost of deicing with rock salt.
Knowing how to apply brine using the proper materials and tools can save you time and money in the long run. So how can people who use rock salt in the snow and ice control make the switch to brine? Our helpful ice control blog covers all things snowfighting. Click below to learn how to make the change to using liquids in your snow and ice operations.


